
Settings
API Keys
Generating API Keys
To access and execute the APIs, you need credentials in the form of API key.
Generate the API keys using the following steps;
Step-1
Sing in to the platform with the registered email address and navigate to the Admin section and select the Generate an API Key option.
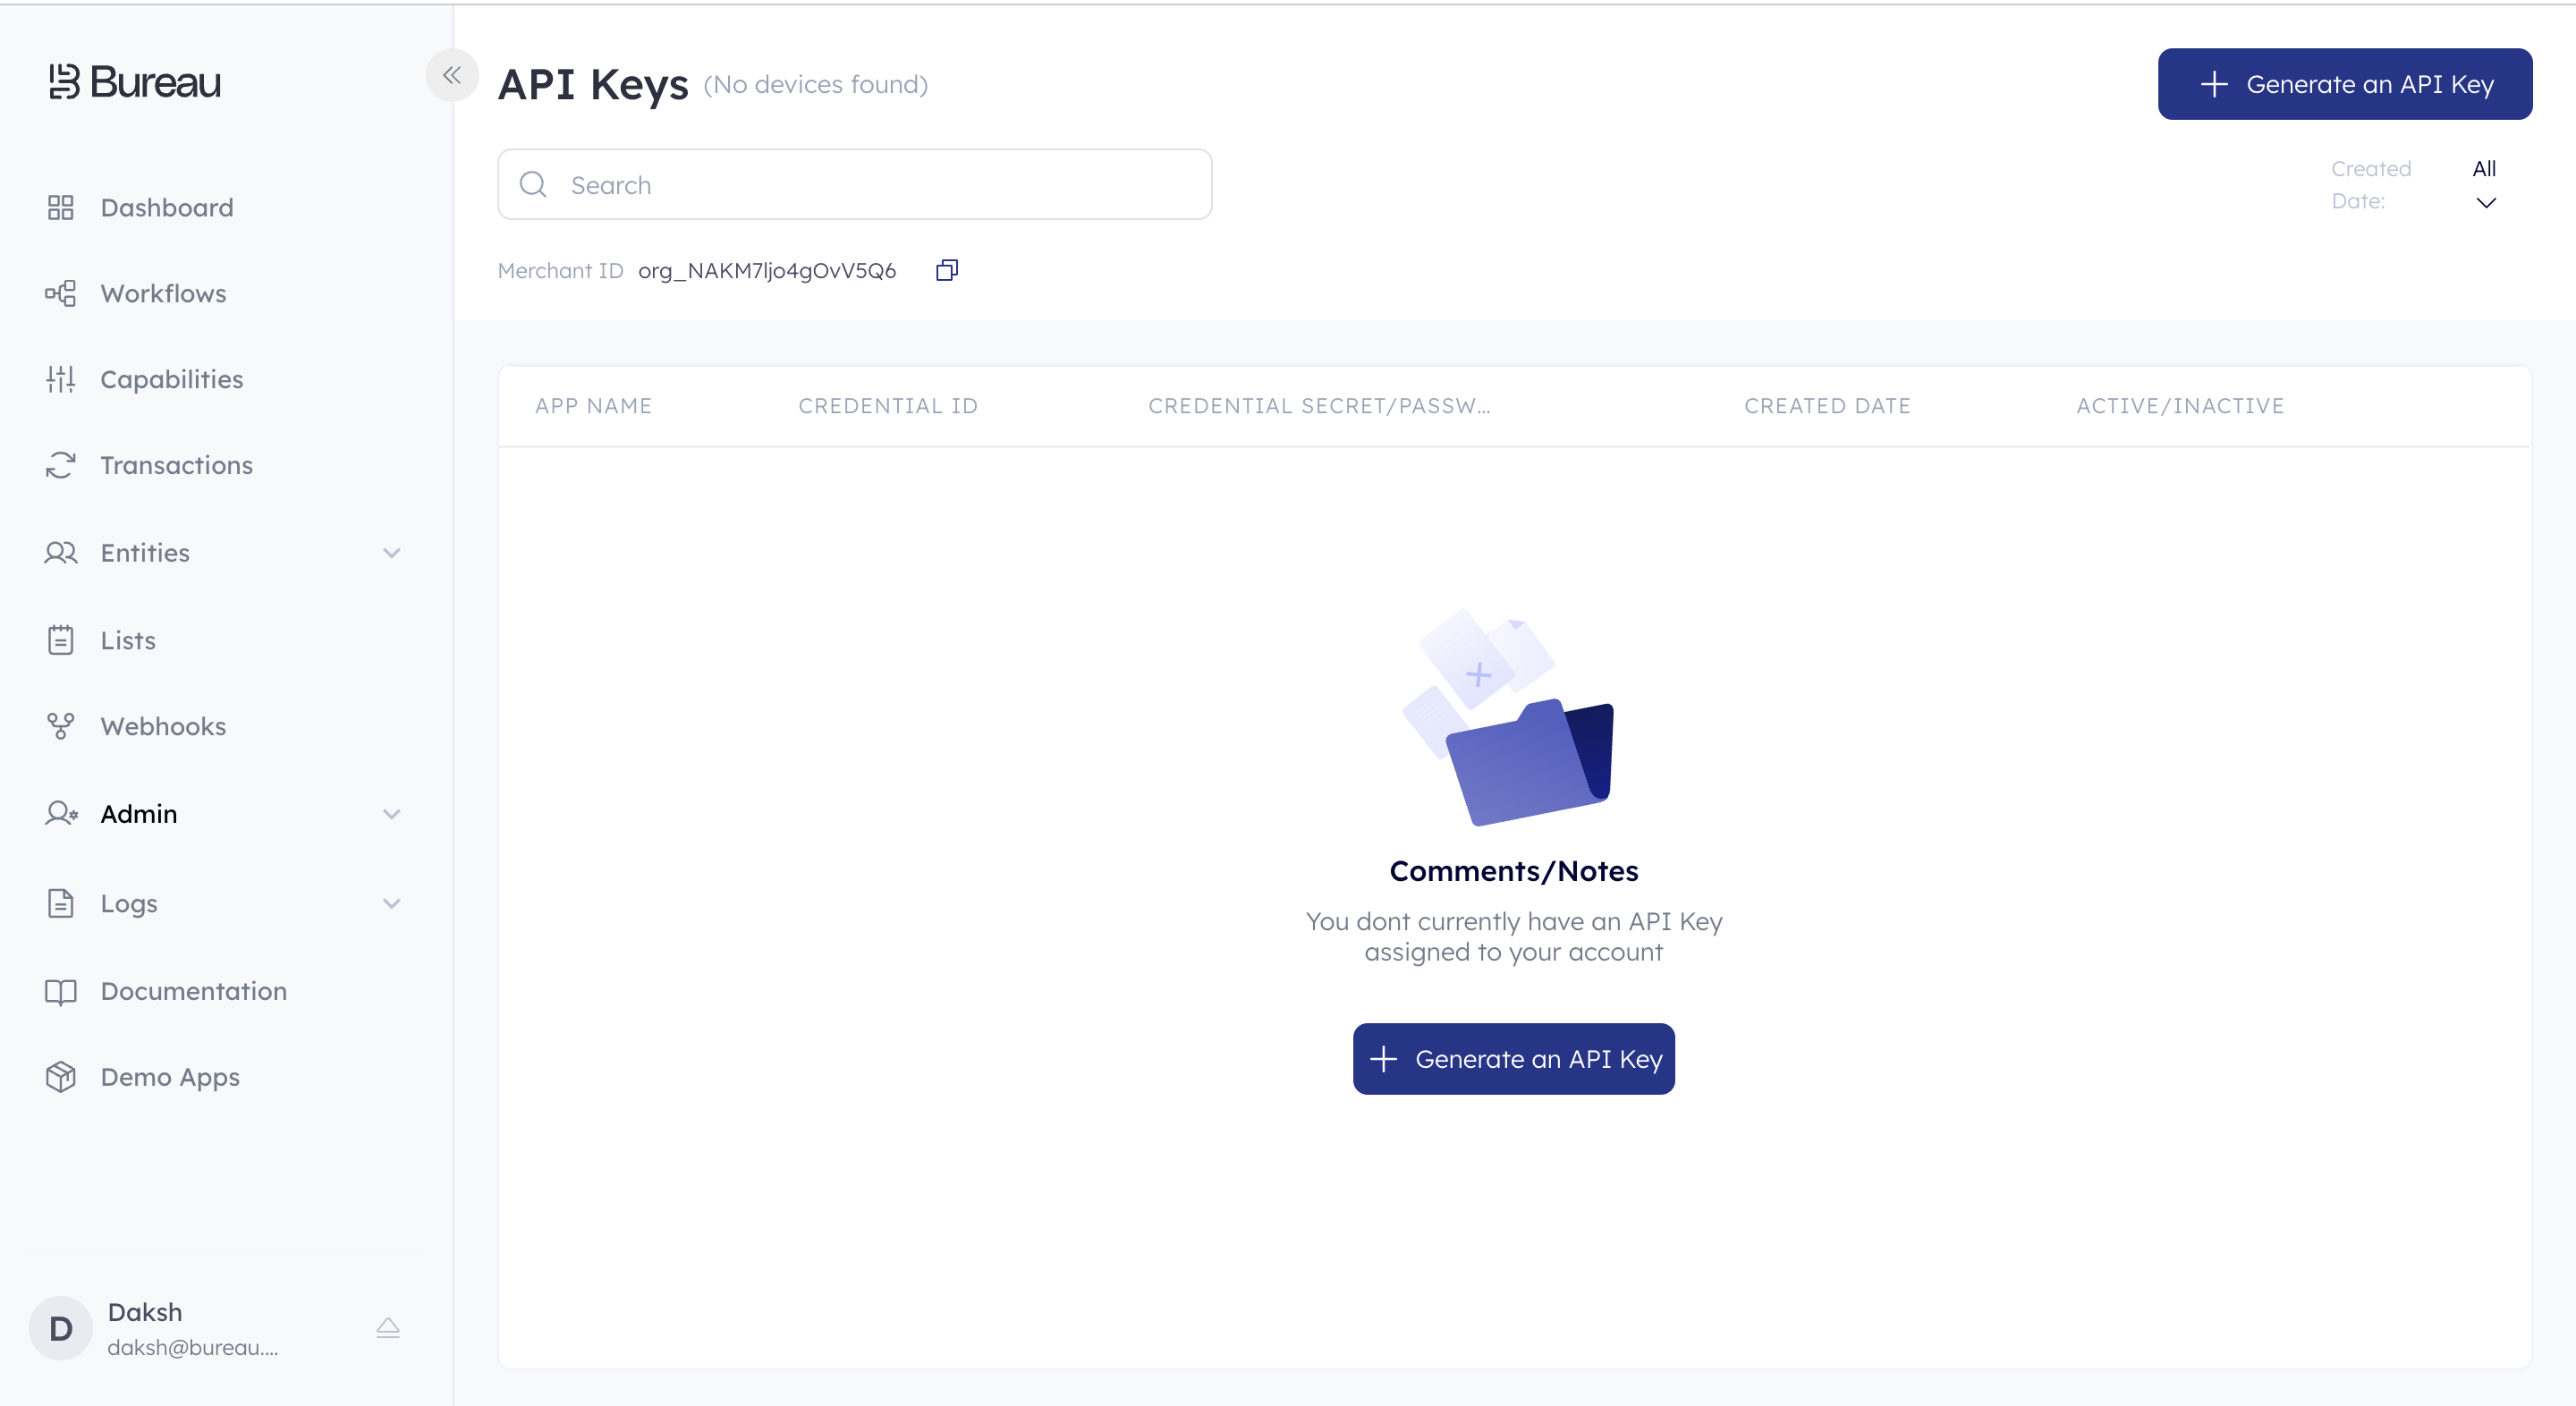
Admin Panel on the platform
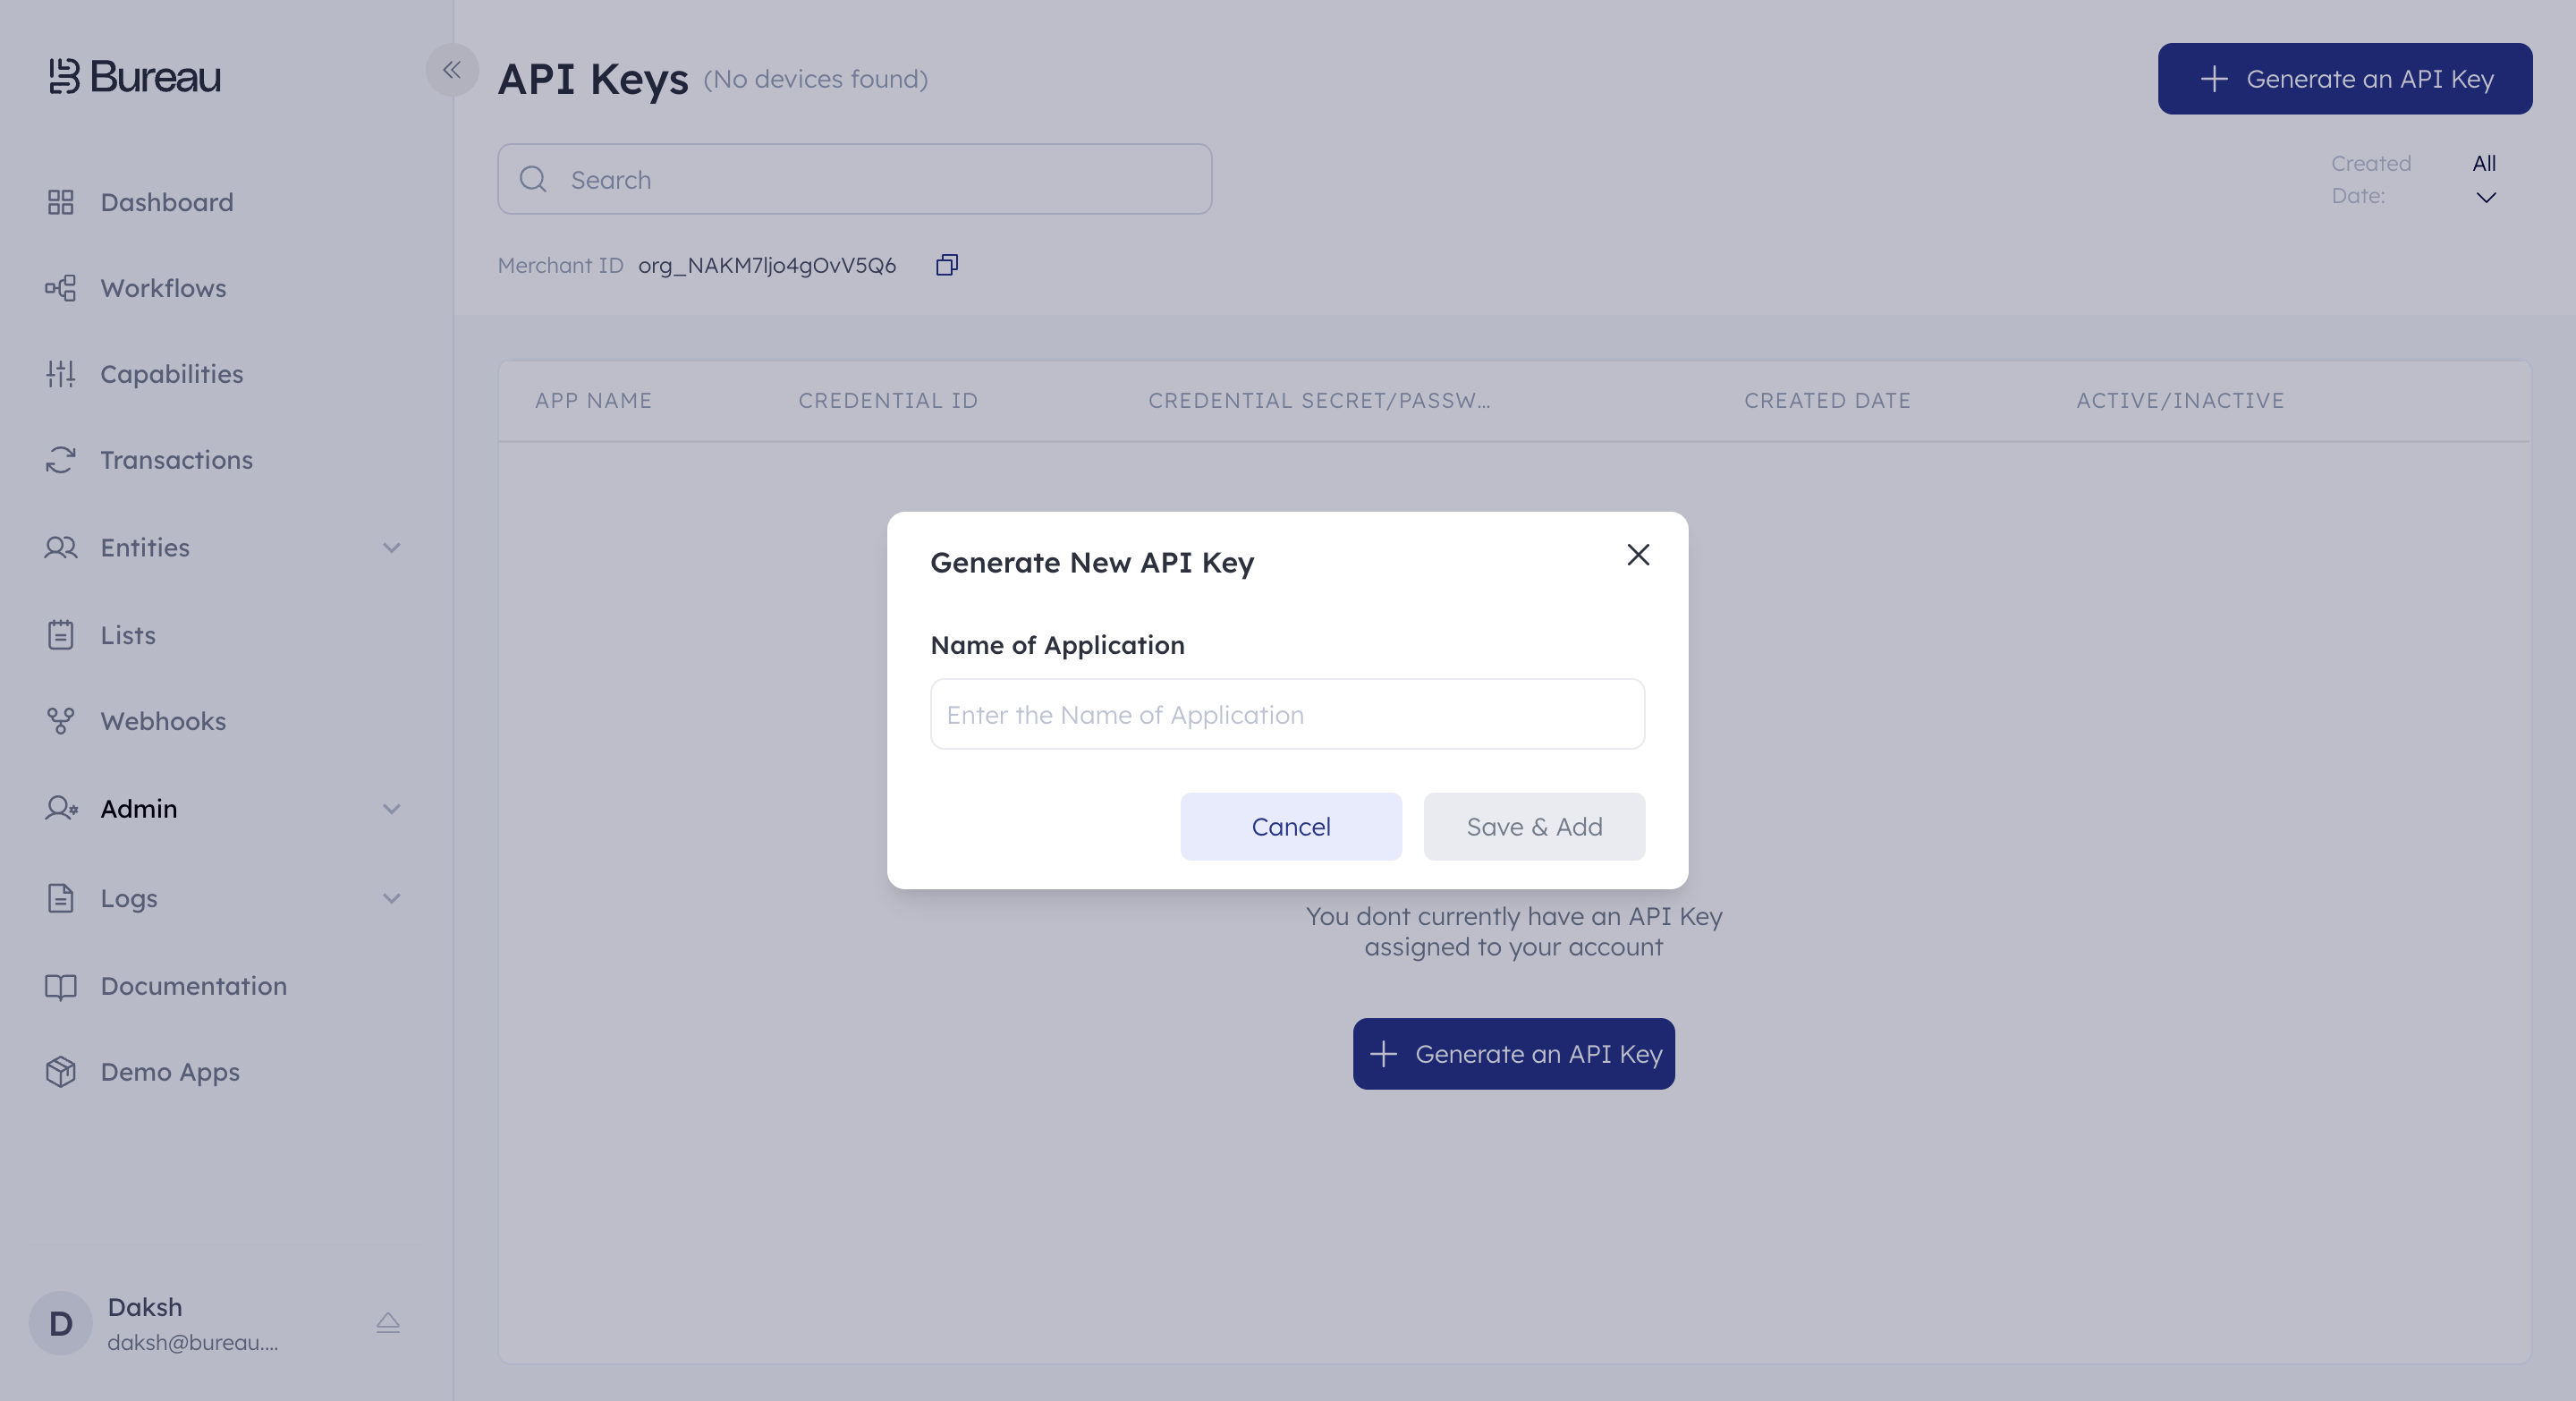
Step-2
Give a name to your API Key ( for eg; "First API Key") & click on Save & Add.
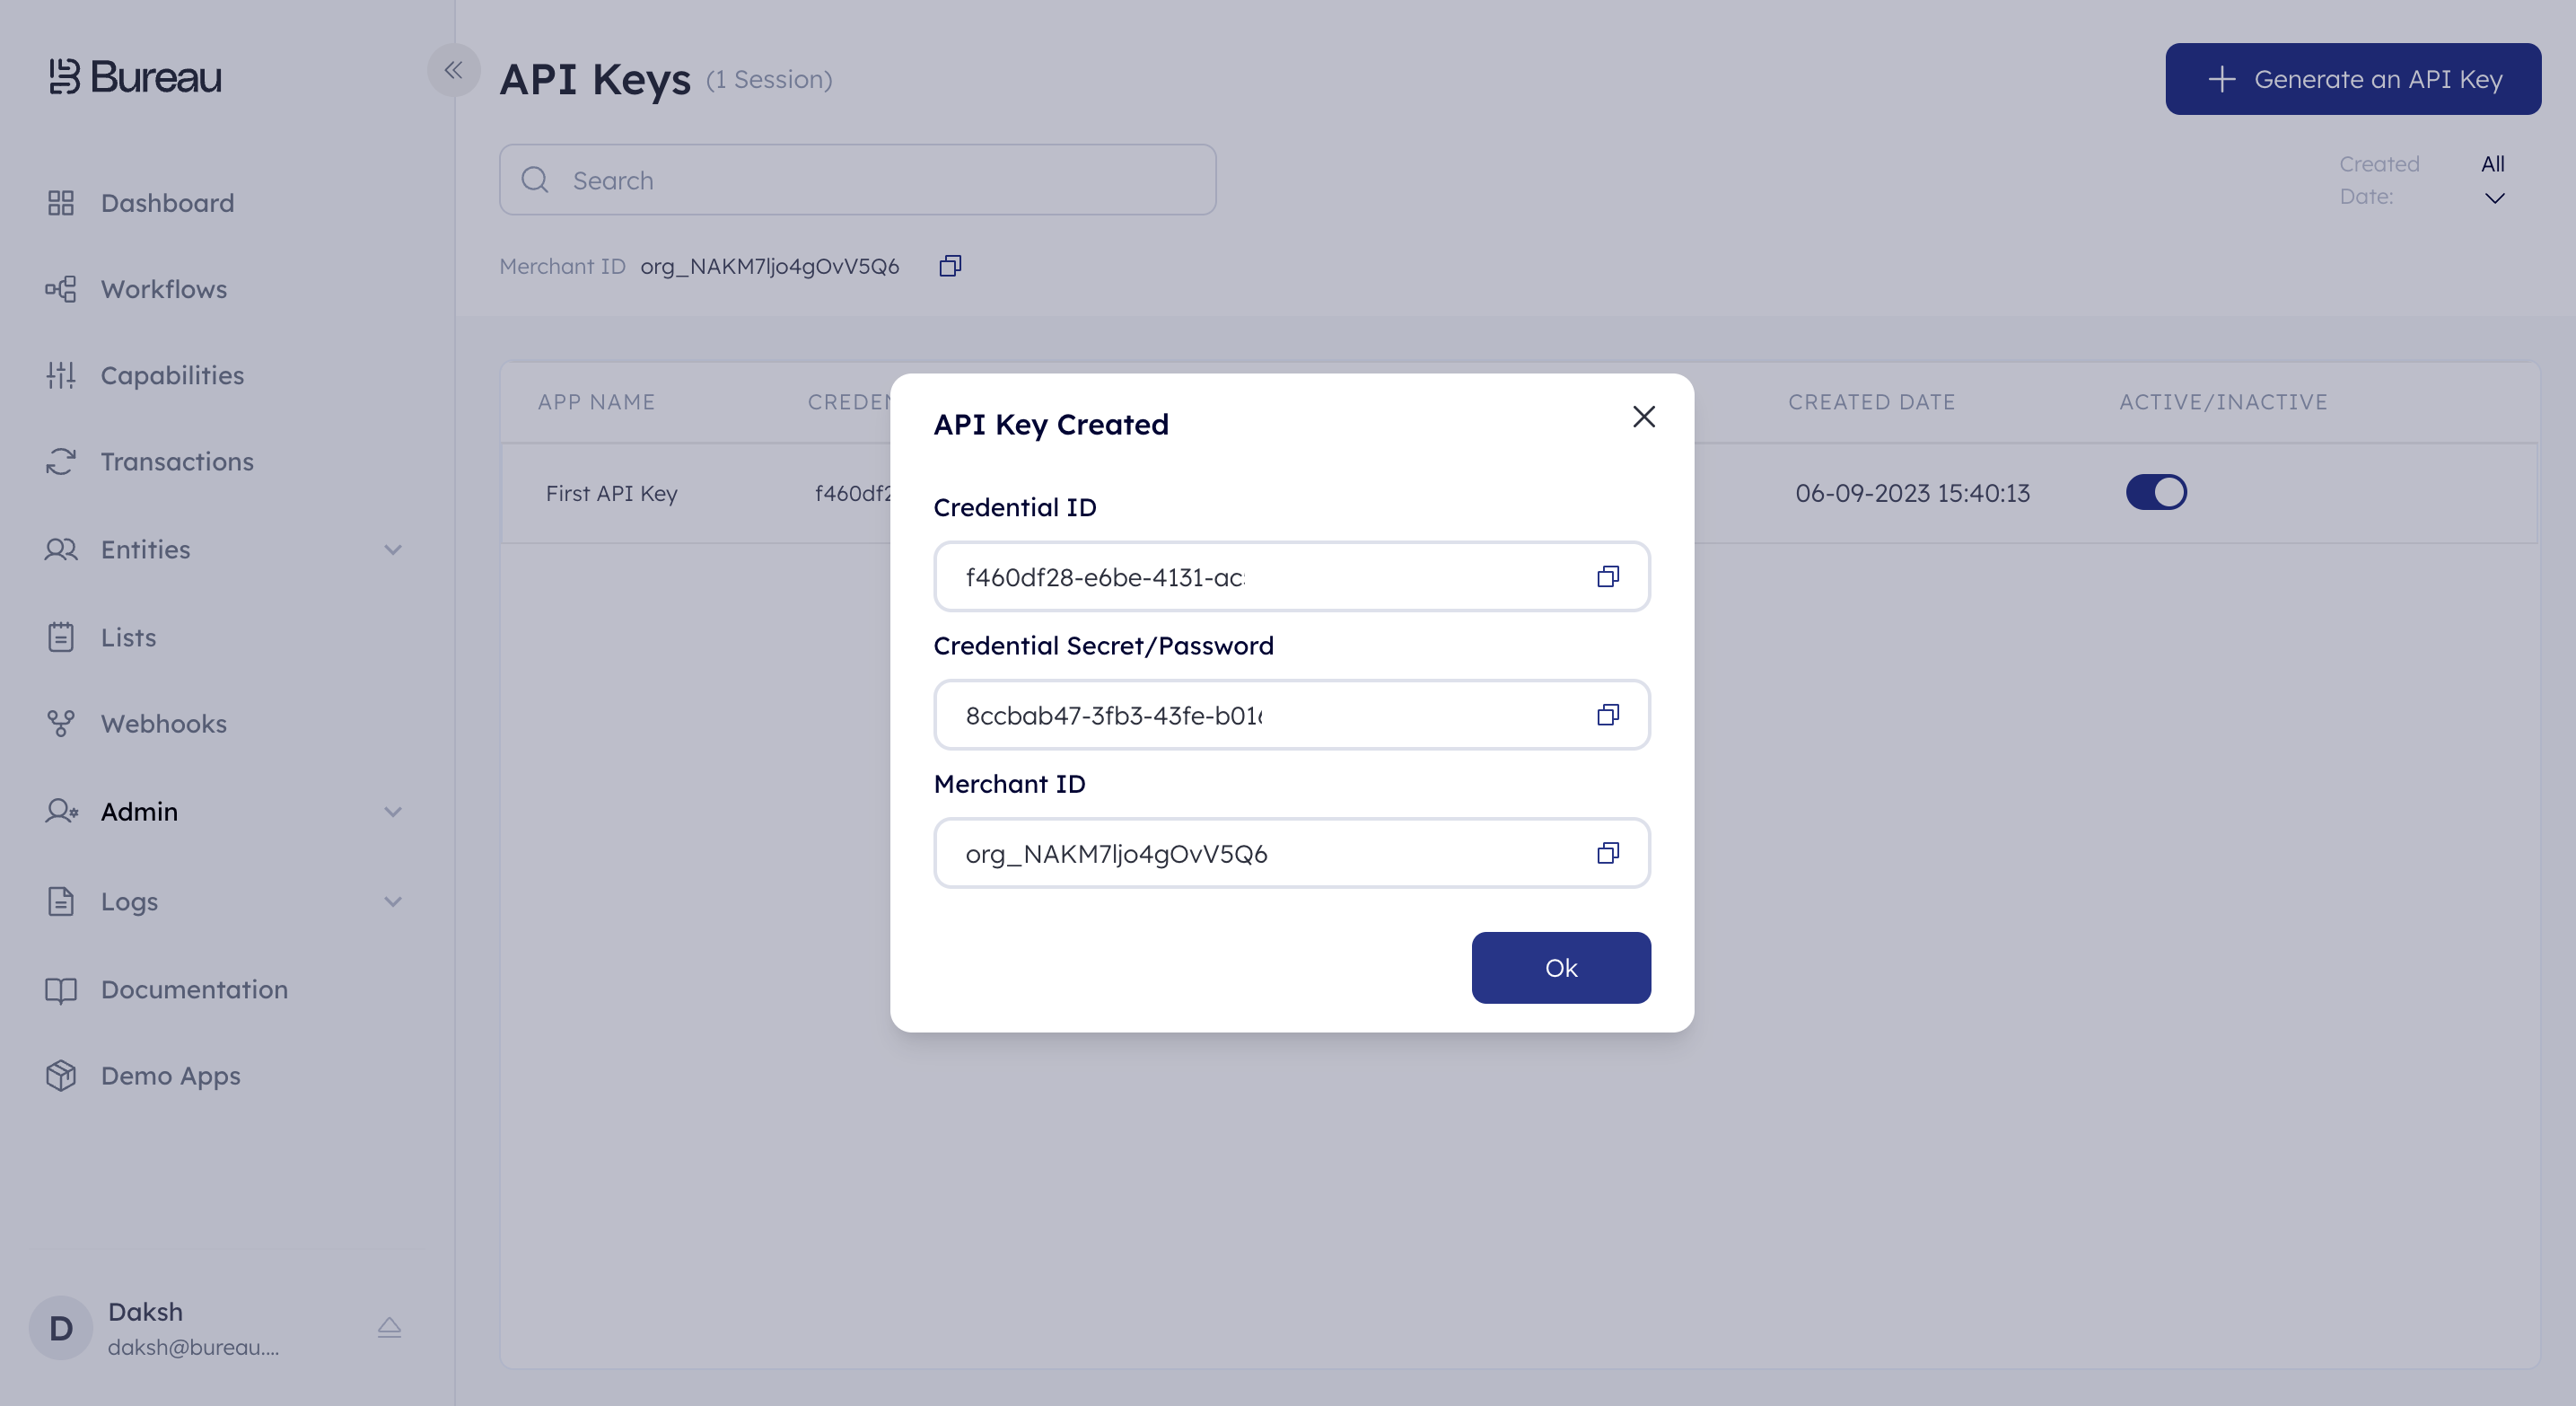
Step-3
The API Keys will be saved in the Admin section for future reference and can be used to see the status of the API.
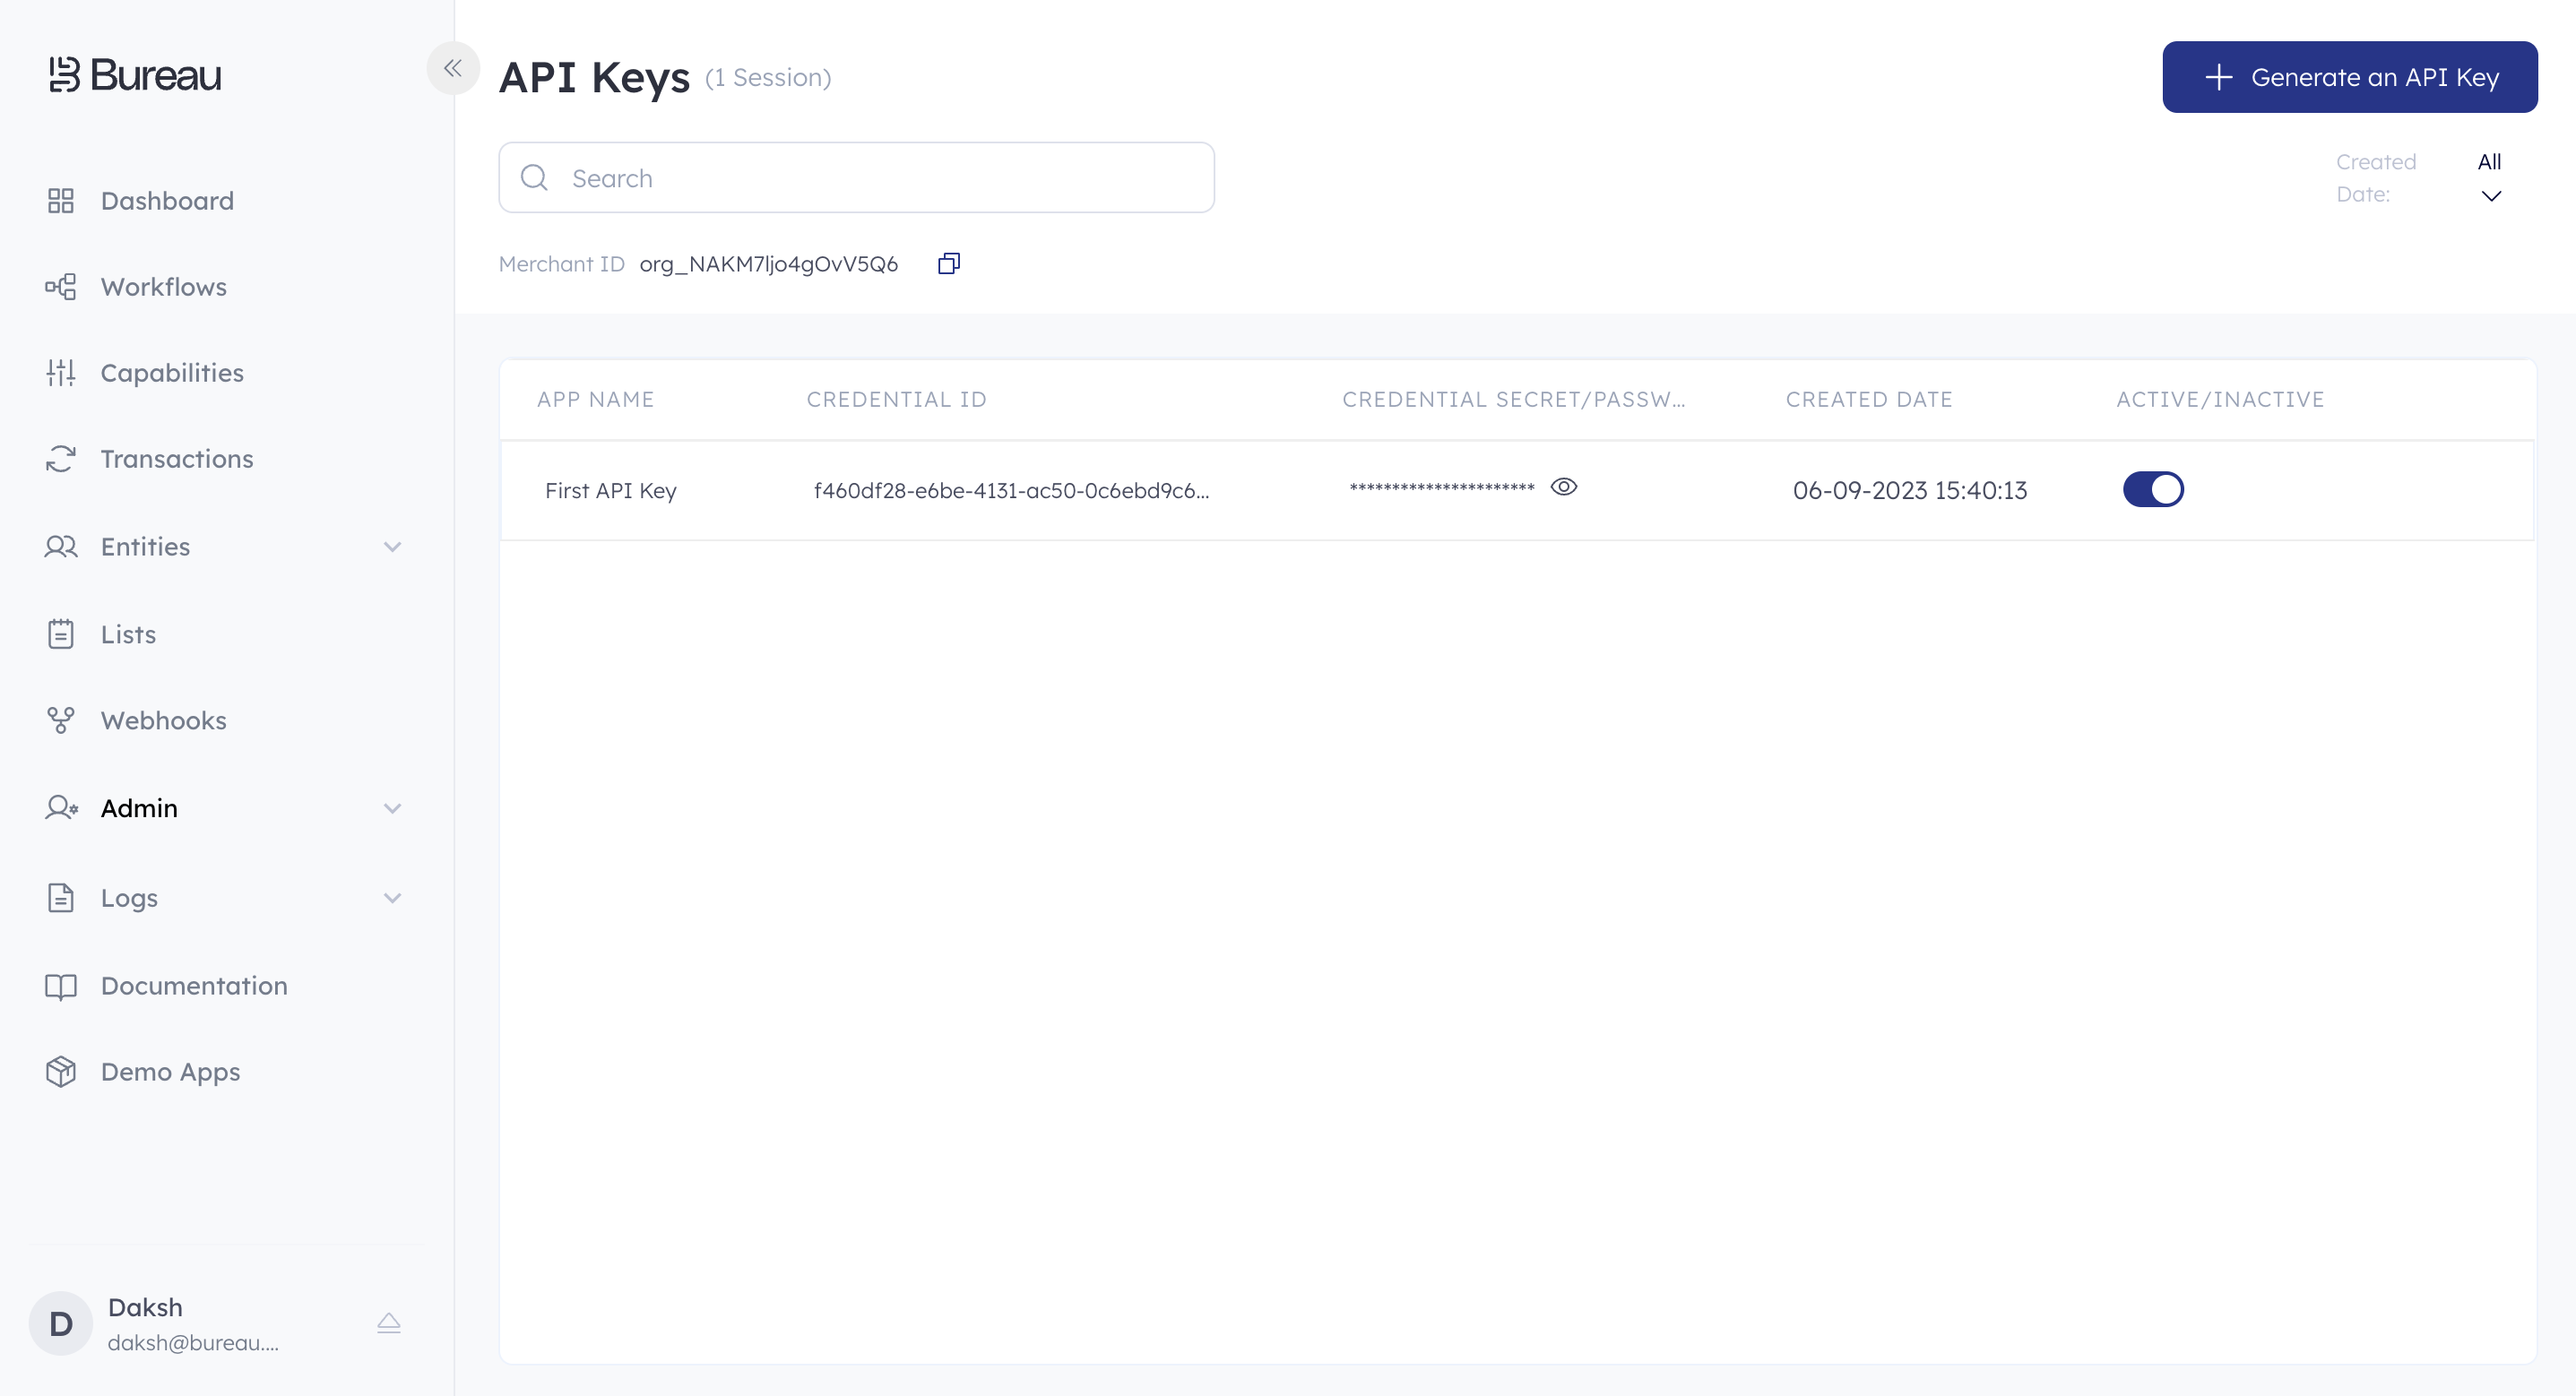
The Admin Control page consisting of all the API Keys
Organization Settings
General Settings
General settings include the following options
- Owner: Owner Email address
- Organisation Name
- Country of Operation
- Industry

Notification Settings
The following menu can be used to toggle various notification and edit the email address receiving the notification


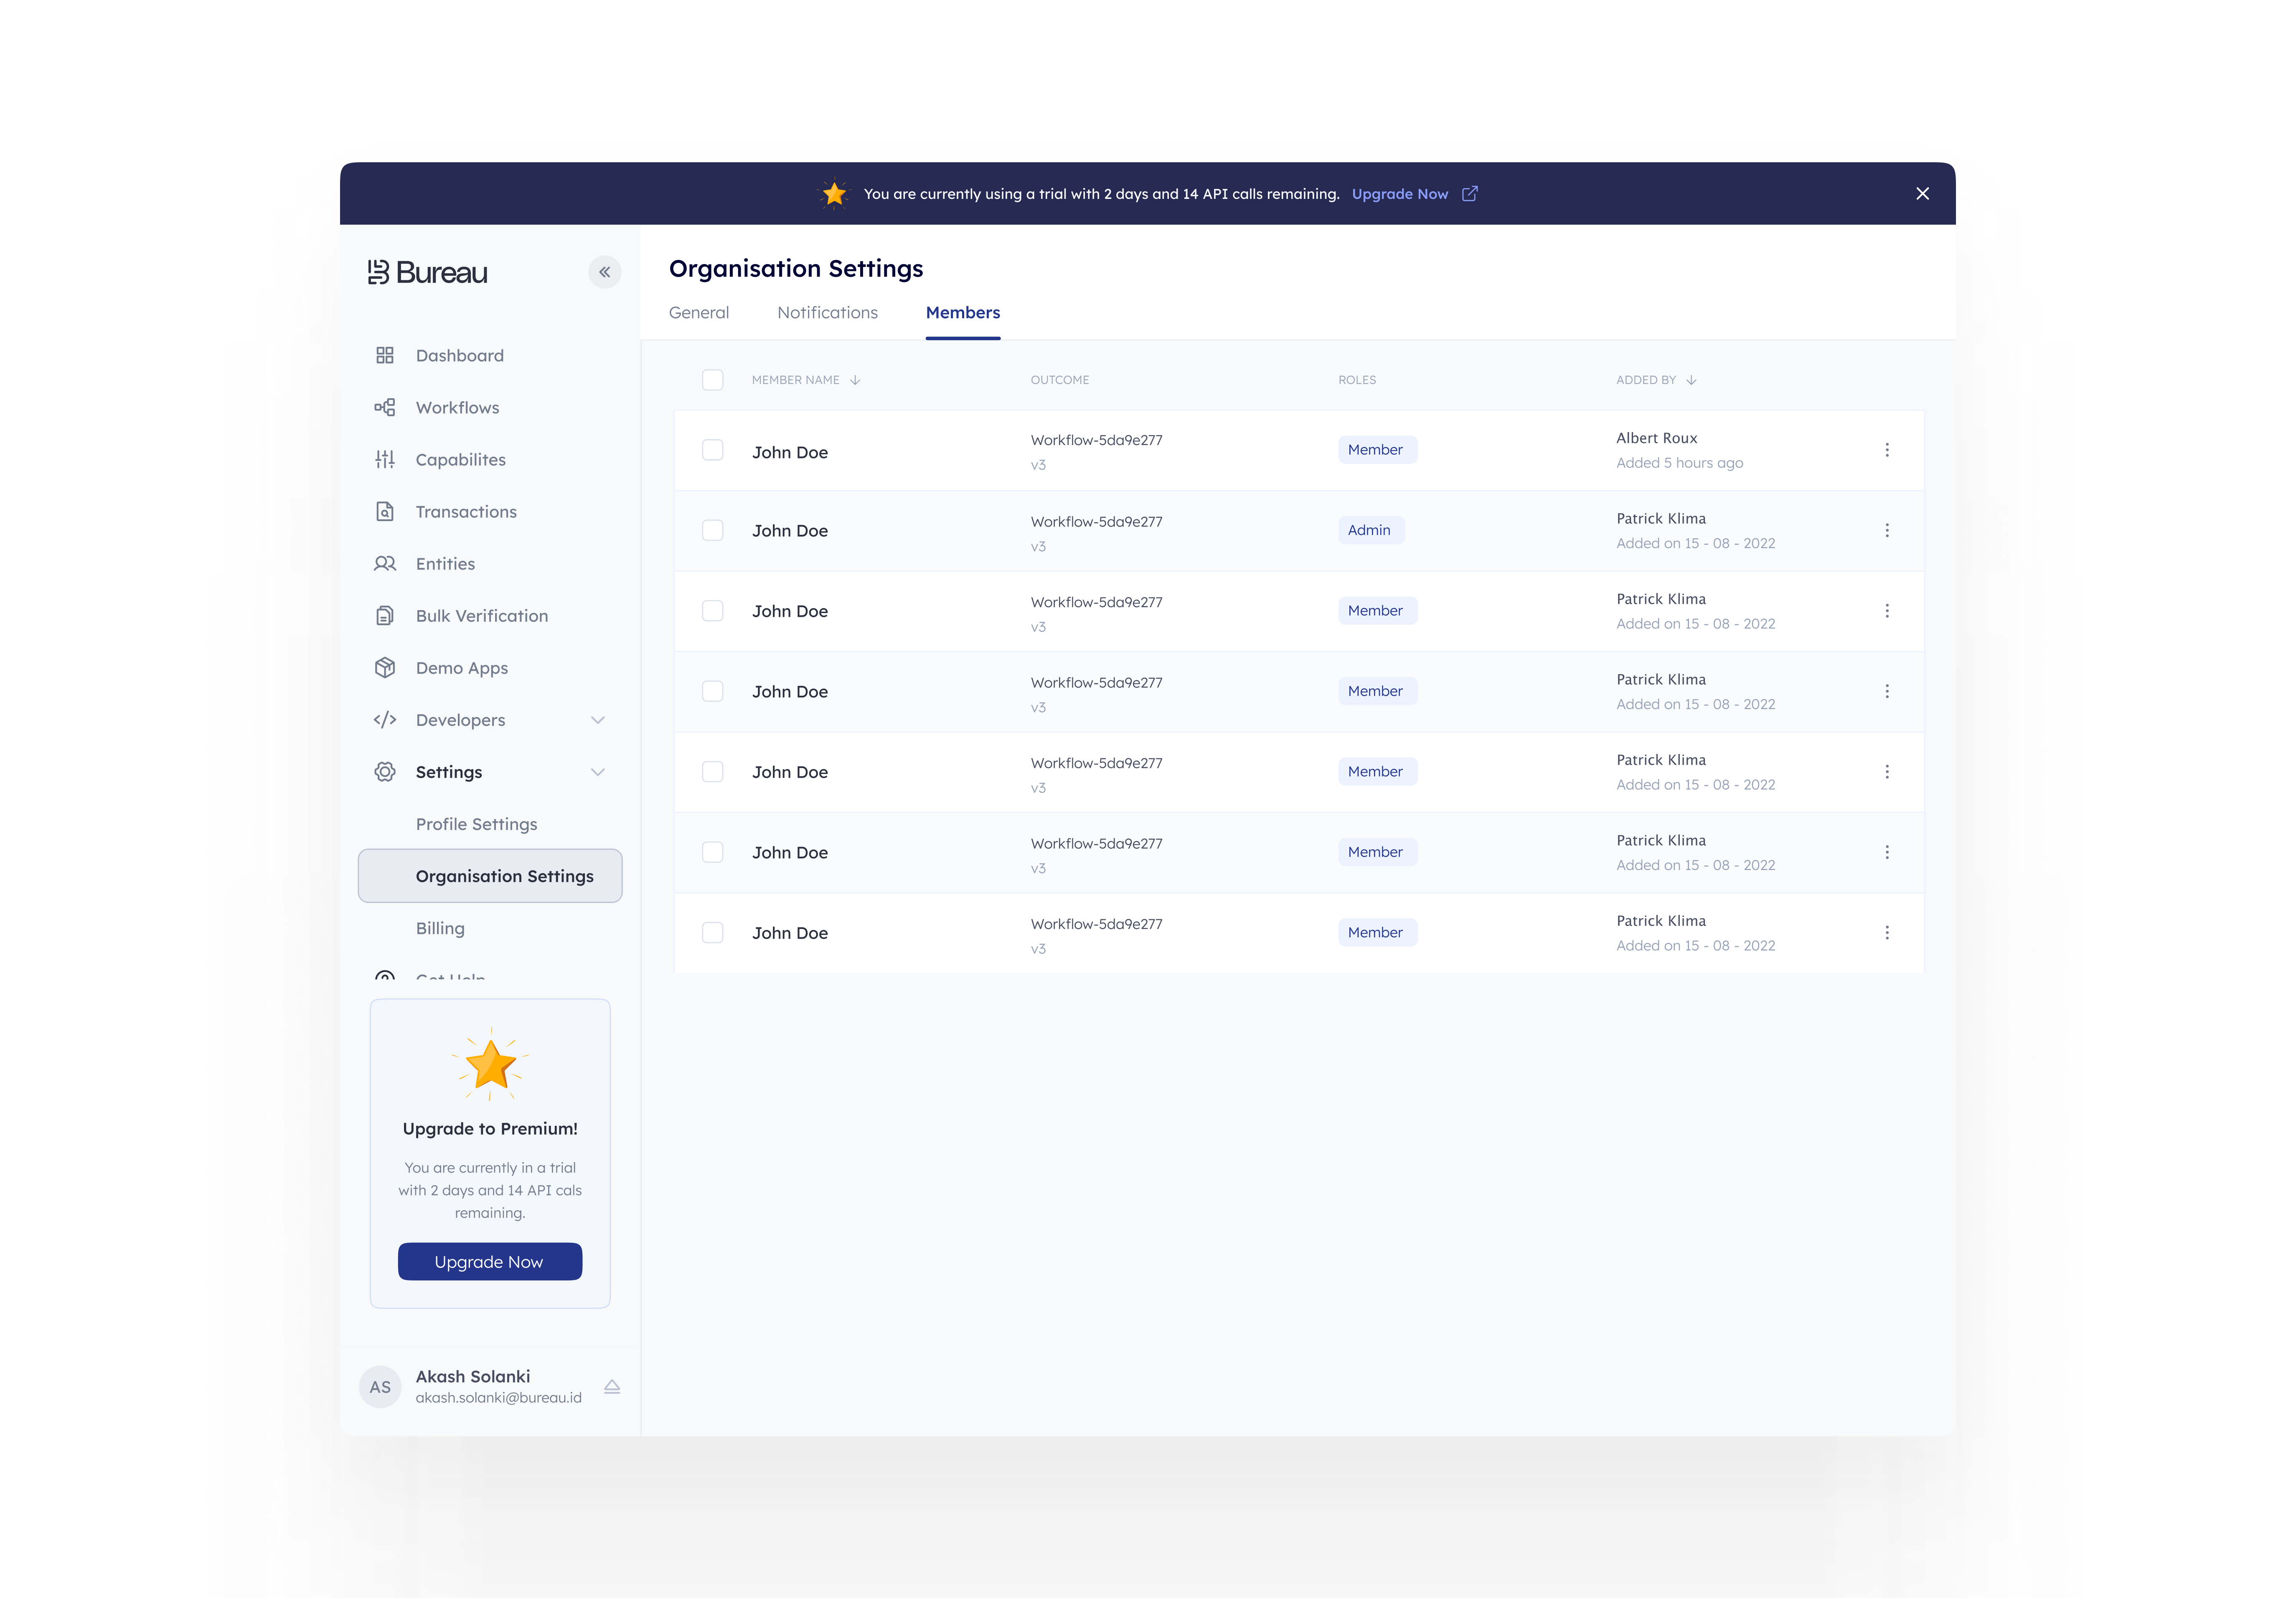
Members
A merchant organization has two types of user roles:
| User Roles | Privileges |
|---|---|
| Admin* | create credentials, create invitations, assign members to organizations, delete credentials, delete invitations, read credentials, read invitations |
| Member | member of a merchant organization |
*Only admin users can add new admins or members using the Invite New User feature.
Inviting new users
To invite a new user, complete the following steps:
- Log in to the Bureau Platform.
- In the left panel, expand the Settings menu and select Organisation Settings. Open the Members page.
- Click + Invite New User. The Invite New User dialog opens.
- To invite a new user into your Bureau Dashboard, enter the Email address.
- Select any one, or both, of the following options for user Role:
- Admin - to provide new users with admin privileges
- Member - to provide new users with only member privileges
- Both Admin and Member: to provide new users with both admin and member privilege
- Click Invite. A Success confirmation box appears indicating that the system successfully sent the invitation to the provided email address.
- Click OK. _The Users page appears and displays the email address of the newly invited user. The Status of the user will remain
Pendingtill the user opens the email and follows the instructions to join your organization in Bureau Dashboard.
Searching users
You can use the Search bar to find users from the list of users. To search for users, complete the following steps:
- In the left panel, expand the Admin menu and select Users. The Users page opens.
- Place the cursor in the Search bar.
- Type the complete email address or part of the email address.
- Press the
Enterkey. The system displays results that are similar to the string that you entered in the Search bar.
Editing user roles
An admin user can modify user roles of existing users in an organization. An admin can modify user roles only for users whose Status is Accepted. To edit user roles, complete the following steps:
- In the left panel, expand the Admin menu and select Users. The Users page opens.
- Locate the required user or email address. You can also use the Search bar to locate the email address.
- Move the cursor over the email address and select the three vertical dots succeeding the user Status.
- Select Edit. The Edit User dialog opens.
- If required, change the user Role.
- Click Save. A Success confirmation box appears indicating that you successfully updated user details.
- Click OK.
Troubleshooting
The following are some troubleshooting solutions in case you see any errors:
- Ensure that you enter the correct email address to receive the invitation.
- You will see a warning if the email address has already been invited.
- The search works dynamically. If it does not, press the
Enterkey. If it still does not work, check your Internet connection. - In the Edit feature, the Save button gets enabled only if you make some changes.
- You cannot edit users who have not yet accepted their invitations.
The following animated GIF image shows how to add users, search users, and edit user roles:
Updated 5 months ago